Math Ideas and Lessons
Count and Clap
Stand in a circle and clap through the numbers. It's easier to skip count to a beat.
Primary Lessons on Shapes
This lesson contains an individual and group activity for helping primary students recognize shapes in their environment. The lesson is titled Get into Shapes.
Here is another activity for primary/ grade 1 on shapes. To make this shape activity more challenging you can get students to color shapes specific colors.
Primary shape idenification games can be found at the PBS site http://pbskids.org/catinthehat/games/juice-pumper.html. Both the "Huff-Puff-A-Tron" and "The Great Shape Race" are interactive and have the well liked Cat-In-The-Hat in them.
Primary Graphing Gummy Bears
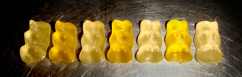
Data Management is introduced in Primary and this is a lesson I did after the students had prior lessons about graphing.
Patterns
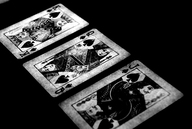
Playing with decks of cards can be a inexpensive and fun manipulative for students. I would do a pattern on the board and students would try to copy it and predict the next card in the pattern. Students worked in pairs to try and create and decipher patterns.
Crack the Code is a game I made up with the primaries where they had to fill in the missing part of the pattern. I would use shapes, numbers, letters, sizes all in patterns for them to work out. This game worked well as a time filling activity for transitioning into something else. Or it can be used as Board Work as a way to get all students into class settled and working on the following decoding activity.
Here is a link to a patterning game excellent for primary students. http://www.softschools.com/math/patterns/game/
Games that use Patterns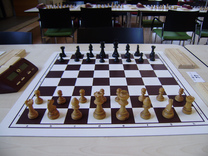
The chess or checkers board illustrates how patterns are built right into the game. |
Using Wooden Blocks for Patterns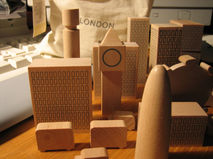
Ask students to make a pattern using 1 or more wooden blocks. Students can manipulate their patterns by decreasing the blank space, turning the blocks, altering colors. When students have a strong command on patterns this assists in understanding other math concepts like slides, flips, turns, and tessellations. This activity can be done in various grade levels and range various abilities.
|
Orgami
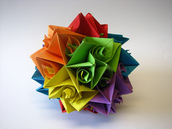
What can be done with one piece of paper and one's imagination is limitless. Orgami is an art but is based in mathmatics. Doing orgami with students shows that there is plenty of room for creativity in
Cooking
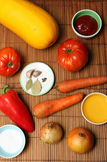
Cooking in class puts into context why we need to measure and helps students put fractions into context. Cooking incorprates many math concepts but also science (changing of states of matter, boiling and freezing temperatures), art (presentation of food, color combinations), language arts (reading or writing recipes) , social studies (where foods come from, cultural traditions with food), health (food groups, healthy choices) and so on.
In classroom cooking ideas: Use a slow cooker, hot plate, portable grills, or bread makers. Or you may have access to a staff room or school stove.
PUDDING PAINT: Lesson: Impasto Painting - Van Gogh Sunflowers
"Pudding" Paint - for Impasto - from the book "Art Fun!" by Kim Solga
Mix 5 cups water, 2 cups white flour, 1/2 cup sugar, and 3 Tablespoons salt.
Pour into saucepan and cook over medium heat until thick and bubbling (about 7 minutes) Cool well. This can be stored in the refrigerator in covered containers for several weeks. Spoon cooled "pudding" into containers and mix with 1/8 to 1/4 cup powdered or liquid tempera paint.
Use a craft stick or palette knife to apply. Use heavy tagboard or cardboard, as it will curl. Maybe try on corrugated cardboard (recycled) for extra strength.
Notes: I usually only make half the recipe for a class, a little goes a long way.
When you are cooking it, use a wisk, otherwise it will get lumpy. And remember to paint on a sturdy surface, even cardboard will absorb liquid and curl, so paint the cardboard first with primer or white latex house paint, which will also give you a white surface to work on. The best thing to use is mat board but new, it is expensive; a framing store may give you off cuts if you ask.
APPLE CINNAMON ORNAMENTS FOR THE HOLIDAYS: from Martha Steward's Website (Images below)
http://www.marthastewart.com/how-to/cinnamon-bird-ornaments#slide_1
Step 1 Prepare Dough In a medium bowl, mix together 1 cup ground cinnamon and 1/4 cup applesauce using a rubber spatula.
Step 2 Prepare Dough Stir in 1/2 cup craft glue. Stir the dough until consistency is smooth and dry. Let stand 1 hour. Applesauce gives the dough pliability, glue makes it firm, and cinnamon imparts a lovely fragrance and a gingerbread color.
Step 3 Prepare Dough Turn out one-quarter of dough onto a cool, flat surface; flatten with your hands.
Step 4 Prepare Dough Flatten with a rolling pin to 1/4 inch thick. If dough becomes too dry, spritz with water. If it sticks to rolling pin or work surface, sprinkle with additional cinnamon.
Step 5 Cut Out Shapes using cookie cutters. Remember to poke holes for them to hang from.
Step 6 Dry Ornaments With a straw, poke a hole in dough for hanging. Air-dry ornaments on a wire rack lined with paper towels for 24 hours, turning them over every 6 hours or so to keep them flat. Alternatively, preheat oven to 200 degrees. Transfer ornaments to a baking sheet; bake, flipping once, until dry, about 2 hours. Once the dough has dried completely, adorn the shapes inspired by nature or your imagination. As you decorate, proceed from the finest embellishment to the coarsest, adding glitter, then beads in order of size.
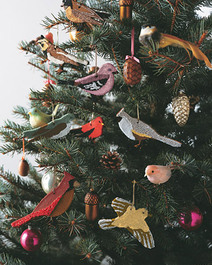
I wish I could say I did these, however this image of Apple Cinnamon Ornaments was taken from Martha Steward's website. http://www.marthastewart.com/how-to/cinnamon-bird-ornaments#slide_0
|
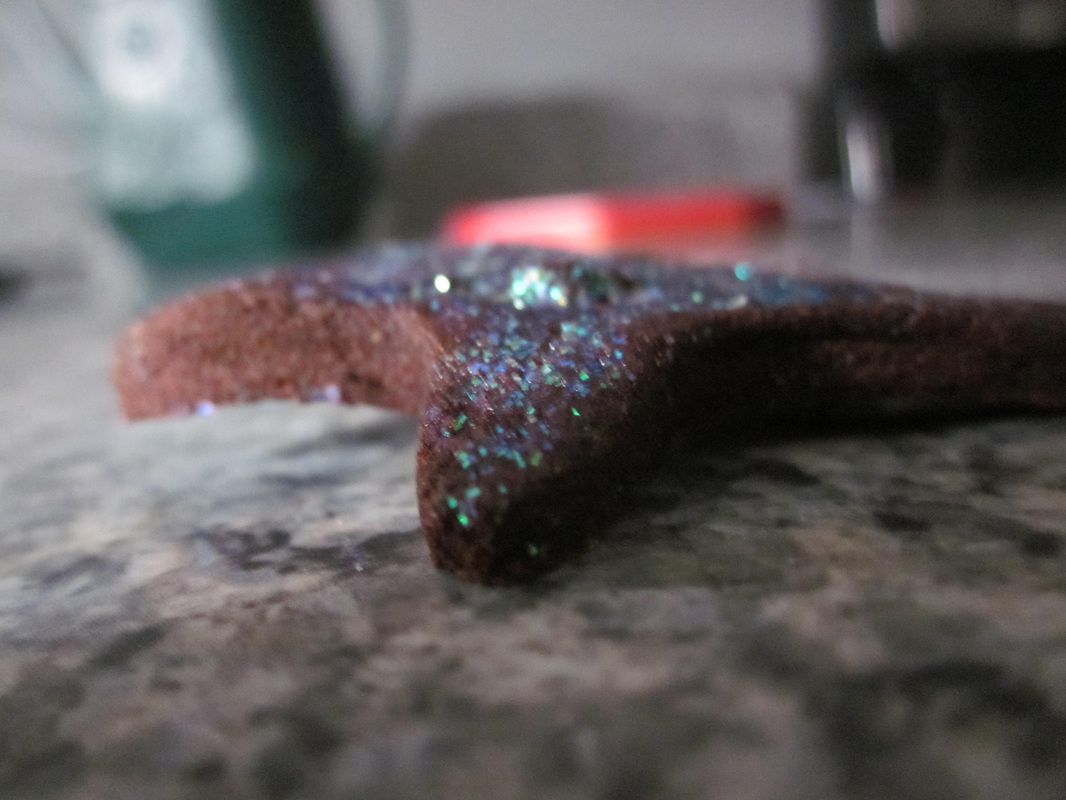
This Apple Cinnamon Ornament we made in primary and it's a start with glitter glue. The students loved them.
|
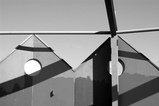
Angles
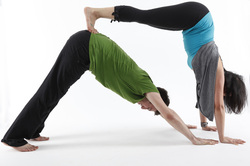
Explore obtuse and acute angles with our bodies. Can we make right angles, 45 degrees, 120 degrees, etc? Get students up and out of your seat and, ideally, outside to make some angles with our bodies.
Learning how to make these angles leads to being able spot them among our daily interactions. Where do we see angles in our environment? Are some angles more prevalant then others? Observing angles in real contexts helps us to understand their use in our lives.
Learning how to make these angles leads to being able spot them among our daily interactions. Where do we see angles in our environment? Are some angles more prevalant then others? Observing angles in real contexts helps us to understand their use in our lives.
More to come....
